Create a template notecard
One of the nicest feature of SkirtMaker is to run commands written into a notecard. Instead of typing commands on voice channel, you may write it into a notecard and use that notecard as a set of commands with only one click. This feature has many applications :
- First its records your commands, thus you can remember easily how you did a skirt you builded monthes ago,
- You can easily create variants of same shape with many different textures (just copy a base notecard, modifiy texture commands, and use the new notecard)
- You can easily create different size of same skirt
Click on SkirtMaker, a Dialog menu will popup with sample buttons.
Click on "sample 1"
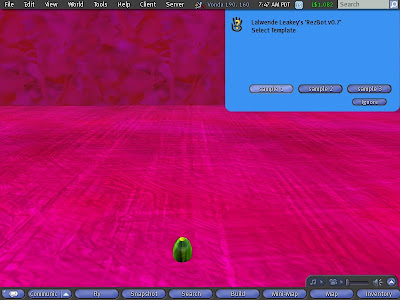
Yep, you recognize the first sample skirt. Let see how this works.
Edit your SkirtMaker and select Contents Tab, you will find three notecards named sample 1, sample 2, sample 3.
Open sample 1.
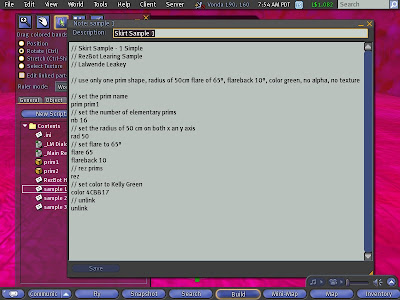
That notecard stores the commands you used previoulsy with some comments added. All commands used on channel can be stored into a notecard. Drop that notecard into RezBoz inventory and the template will be available through the menu.
To Launch a template from voice command you can also type
/1 build <template-notecard>Order of commands
Let's have a look to a particular point, you will notice order of command differ a lil bet from what you used when following the first tutorial.
Remember, what you did was : prim + nb + rez + flare + rad + flareback + color unlink
The notecard use another order: prim + nb + rad + flare + flareback + rez + color + unlink
Both order will work but there is a difference, setting the ellipse parameters before rezzing will be quicker. SkirtMaker will rez different prims on good place, instead of rezzing on standard place and modify afterward. Thus the order you did is more dedicated to try and see from voice channel. On the opposite, when all the right parameters are known, better is to set them before rezzing like in the "sample 1" notecard.
Dump parameters
To help writing of template notecard, SkirtMaker give you the possibility to dump current parameters into a notecard easily.
Type
/1 dumpSkirtMaker will answer on private channel :
prim prim1
nb 16
pos <0.000000,0.000000,0.000000>
rot <0.000000,180.000000,0.000000>
radx 50 0
rady 50 0
arcr 0 360
arco 0.000000
flare 65 0
flareback 10
bend 0 0
Open the history communication windows (Ctrl+H), select every lines and copy that them into a notecard. No pain is needed for you to remind you try and see. When ready and dump, nothing else ;)
Applying alpha, color and texture
You already use color command in the first sample, let's go further with the use three particular commands : alpha, color, texture.
At this point you should have open the "sample 1" notecard. Put in comment the last line // unlink. This will allow you to rez the "sample 1" without delinking to use some more commands before unlinking. Save the notecard.
Copy the "Age of Sempi" Texture into your Textures folder. That texture is part of great collection of Torley Linden textures.
Select the current skirt and delete it. Touch your SkirtMaker copy and select "sample 1" in popup dialog.
When SkirtMaker advices "color loop has been done"
Click right on Age of Sempi into your inventory and use command "Copy Asset UUID"
Type using paste for texture-uuid
/1 tuuid 33da96df-8224-d75f-45b6-c0c1c9bbf42f
/1 tset
You will notice SkirtMaker has applied the Age of Sempi texture to your prims.
Using loop for alpha, color and textures command
Without specifying anything else alpha, color and textures command will affect every prim of your skirt.
There is a way to affect only part of prim with command loop
Type
/1 loop 2 0
/1 color 5F0010
/1 loop 2 1
/1 color 4F0020
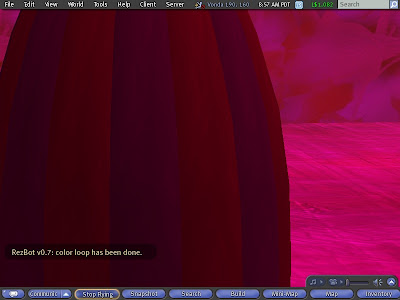
You will notice your dress is now using two differents dark red color. On is applied on even prim, the other on odd prim.
Loop first parameter "2" means next commands will affect only half of prim (i.e. step is 2)
Loop second parameter "0" means for color 5F0010 and "1" for color 4F0020 means loop begin from first prim (0) second prim (1).
Same trick could be used with other loop commands (size, alpha, texture)
Thus if you want to use three different textures you can use
/1 loop 3 0
/1 tuuid texture1-uuid
/1 tset
/1 loop 3 1
/1 tuuid texture2-uuid
/1 tset
/1 loop 3 2
/1 tuuid texture3-uuid
/1 tset
Creating a skirt with several layers
Unlink the current skirt with:
/1 unlinkAnd type:
/1 prim prim2
/1 nb 18
/1 rez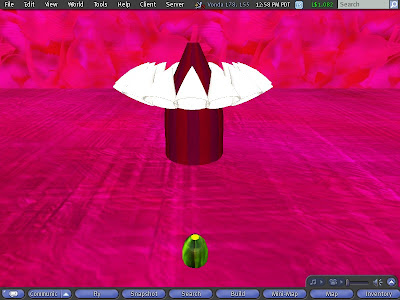
Now lower the new layer with:
/1 loop 1 0Ensure that will apply to all prim
/1 posz -65For lowering the prims of 65 cmd
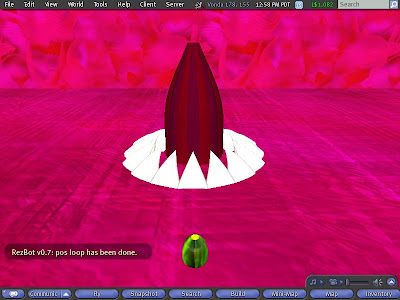
Now use the command you already know to reduce the radius, but with an extra parameter
/1 rad 30 4This set the radius to 30 but randomly position the prim in the range of [28,32].
Command flare could be use with random parameter as well:
/1 flare 65 10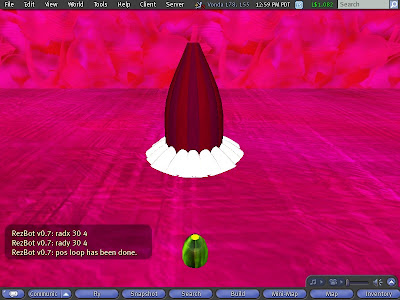
Apply a texture
/1 tuuid df1ed602-2e5d-de8a-7ab5-06b4211d0809
/1 tset
SkirtMaker has a nice feature to resize the prim that have already been rezzed. Original size of prim2 is 25,25,30, we will reduce size of prim to 10,10,15.
/1 size <10,10,15>
We will now add a third layer
/1 rez
/1 posz -60
/1 rad 28 4
/1 flare 75 10
/1 size <10,10,15>
/1 tuuid df1ed602-2e5d-de8a-7ab5-06b4211d0809
/1 tset
No we will shift the layer from 10°
/1 arco 10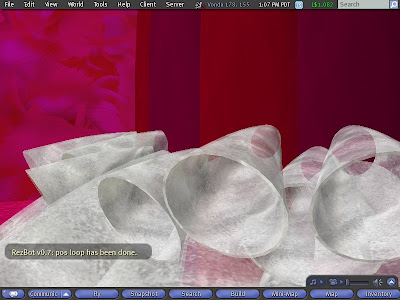
End of second tutorial,
And yes there are still some features to discover,
Some more to come ;)

No comments:
Post a Comment