First step move to any sandbox or a place you're sure rez and script is allowed.
Creating the base prim
A flexy skirt is usually made of simple prims repeatedly rezzed around some ellipse. On first part we will create the base prim that you will ask Rezbot to use to create your skirt.
Create a object on ground.
Select Edit
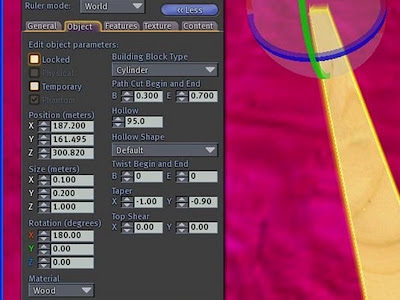
In object panel
Select Building Block Type : Cylinder
Size : X=0.100 Y=0.200 Z=1.000
Rotation: X=180.00 Y=0.00 Z=0.00
Path Cut : Begin=0.300 End=0.700
Hollow : 95.0
Taper : X=-1.00 Y=-0.90
Be sure to enter negative values for taper otherwise your panels wont rez correctly later on the tutorial.
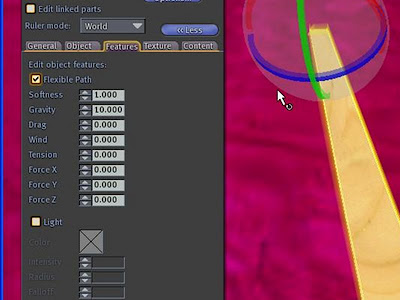
In Features Panel
Select Flexible Path
Softness : 1.000
Gravity : 10.000
All other parameters to 0.000
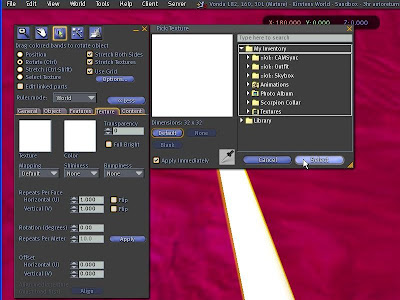
In Texture Panel
Select Texture
In Pick Texture Dialog click Blank
Take the object into your inventory. It must be in your Object Folder.
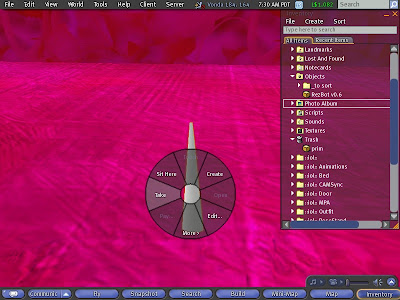
Click right on your object into you inventory.
Rename it to "prim", the description can be leave empty
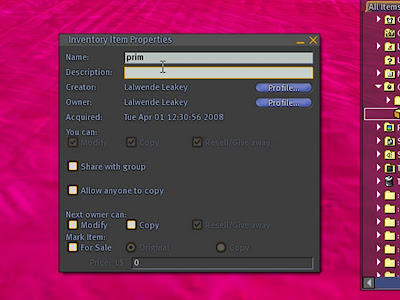
Drop the prim into SkirtMaker
Now the prim is ready to be use by SkirtMaker. Rez your SkirtMaker copy on floor. you will receive 5 times an advice message asking you permission to allow link/and delink from SkirtMaker. Accept it 5 times, this has been done to increase SkirtMaker speed by 5.
"Link and delink from other objects. Is this Ok ?"
Answer Yes.
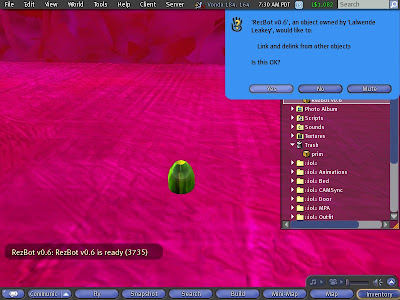
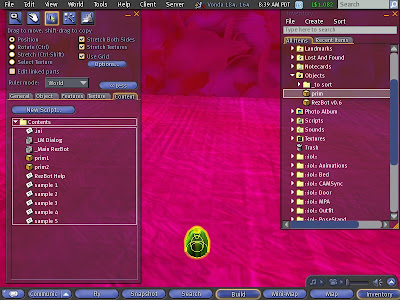
Select SkirtMaker and Edit. Open the Content Panel and drag your object prim from inventory into SkirtMaker.
Creating a first simple skirt
Now everything is ready to build your first skirt. SkirtMaker could be command with voice channel (default /1) or by setting a notecard. For now we will only use first option.
Type these commands on public channel
/1 prim primTell SkirtMaker to use prim named "prim" as elementary prim.
You will notice every parameter you modify is echoed in your private channel.
/1 nb 16Set the number of elementary prims SkirtMaker will rez to 12.
/1 rezAsk for SkirtMaker to rez your skirt.
SkirtMaker will first rez all 16 elementary prim around a circle, 2 meters above your SkirtMaker. On second part it will link them together.
The following advice will ask for waiting ""Wait for prims to be linked before running a command." A delay of 1 second is needed for linking every single elementary prim. Thus you will have to wait for 16 seconds before RezBoz tell you "All prims have been linked, SkirtMaker is ready to accept commands."
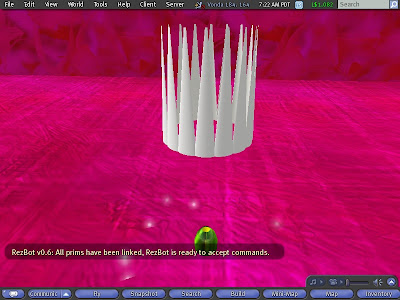
You already notice all elementary prim faces to the center of circle. You will now add some flare.
Type
/1 flare 65The prim will flare outwards to 65 degrees.
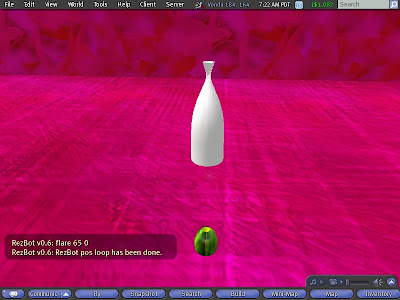
Now enlarge the circle.
Type
/1 rad 60Set the radius on both x and y axis to 60 cm.
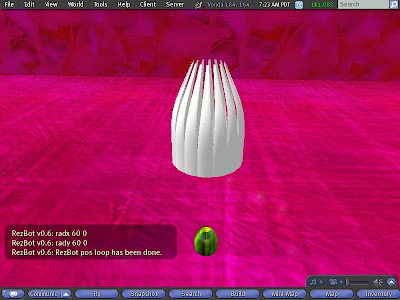
Oops ! Seems this was a little too much. It doesnt matter you can test and test without fear. Each command could be run as many time you want.
/1 rad -10
Reduce the radius to 50 cm.
Most SkirtMaker commands used for setting decimal parameters can be used either by specifying absolute value (like //rad 60) or by specifying relative value (like //rad -10).
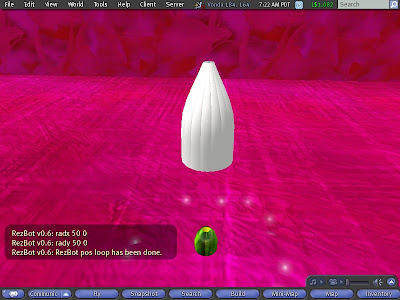
You will probably notice straight skirt doesnt fit very well on Second Life. To help prevent the effect of prim emerging from the buttocks and upper thighs of avatars you can add an extra degrees of flare angle to the backside of a skirt with command flareback.
Type :
/1 flareback 10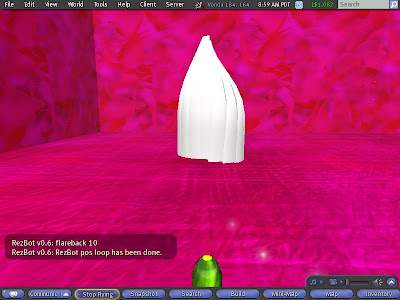
Now what about adding some color to your skirt. Well my mood is here, listenning to "All The World is Green" one of my favorite song of Tom Waits.
Type
/1 color 4CBB17You will probably wonder how 4CBB17 may be the "Kelly Green" I used. SkirtMaker uses Hex Triplet for color setting as HTML does.
Color naming schemes is a fascinating world, have a look here
Wiki - List of colors to have fully information about it.
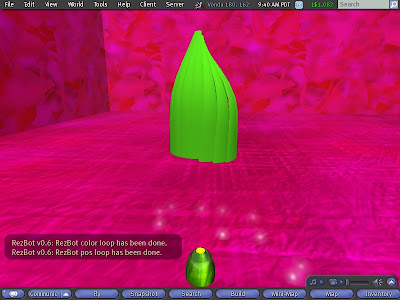
Seems the skirt is ready ? You will delink the skirt from the SkirtMaker, once this is done there is no way for SkirtMaker to modify the skirt, thus use them when you really sure the dress is ok.
Type
/1 unlinkThe following message will warn you. "All prims have been unlinked. Object is ready to be taken."
Edit the dress and rename it. Might be "Skirt All The World Is Green" or whatever, and take it to your inventory.
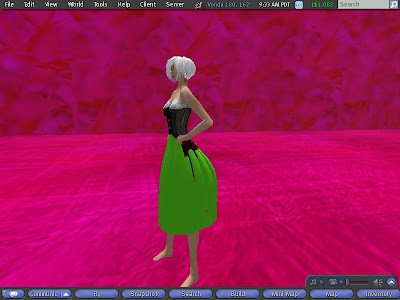
Select the skirt into that inventory and attach it to Pelvis.
You will need to adjust rotation on y-axis.
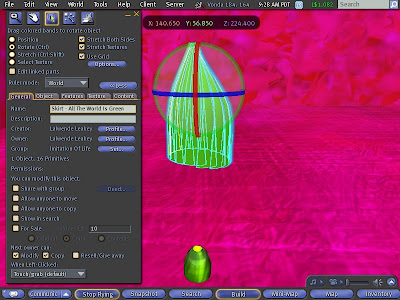
End of first tutorial. Well this was just a try...
Have Fun,
Lalwende.

2 comments:
thanks! great tutorial!
Great tutorial! Works like a charm. Thank you!
Post a Comment